Batch normalizing a large number of files (OSX)
Depending on your workflow, you might want your tracks to come in at a predictable level. For example, when you work with a mix template, normalizing your tracks will help you get a rough mix faster because you can predict the input level of your kick and snare is and have your plugins pre-dialed correctly.
While it’s not perfect and you will still need to do some balancing, normalizing can help you in your mixing workflow.
There are a few paid tools that can help you with this task (for example Sound Grinder) but with a little effort, you can create your own, efficient workflow for this.
[Note: This guide covers only OSX]
Step 1: Get the command line tool that does the normalizing
I used SOX, an open source project that works on Windows and Mac.
Download the file named ‘sox-14.4.2-macosx.zip‘ here: https://sourceforge.net/projects/sox/files/sox/14.4.2/
Step 2: Double click on the archive to extract it
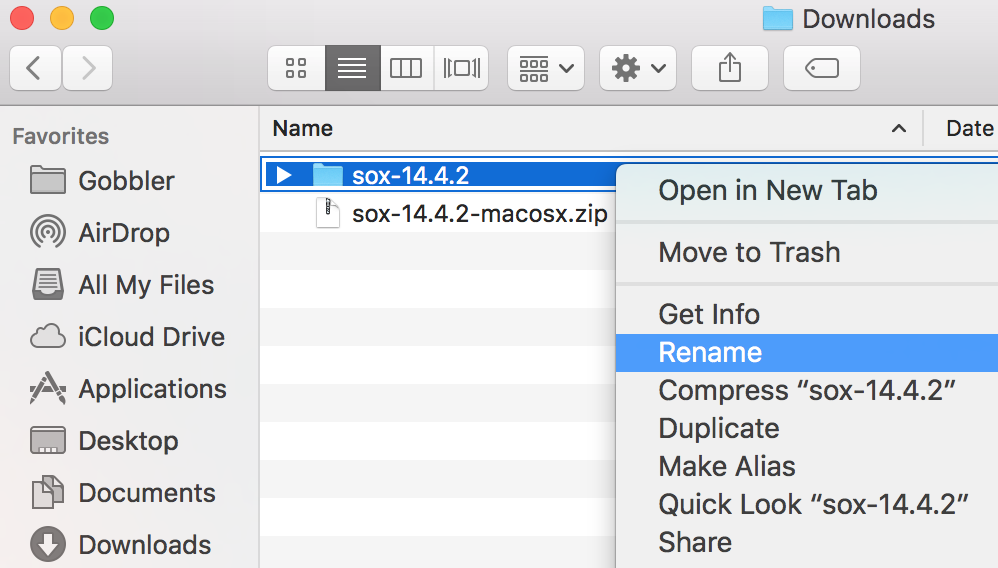
Step 3: Rename the folder
Right click on the ‘sox-14.4.2’ folder, select ‘Rename’ and call it ‘sox’. As a result, it will be easier to update Sox in the future without changing other things
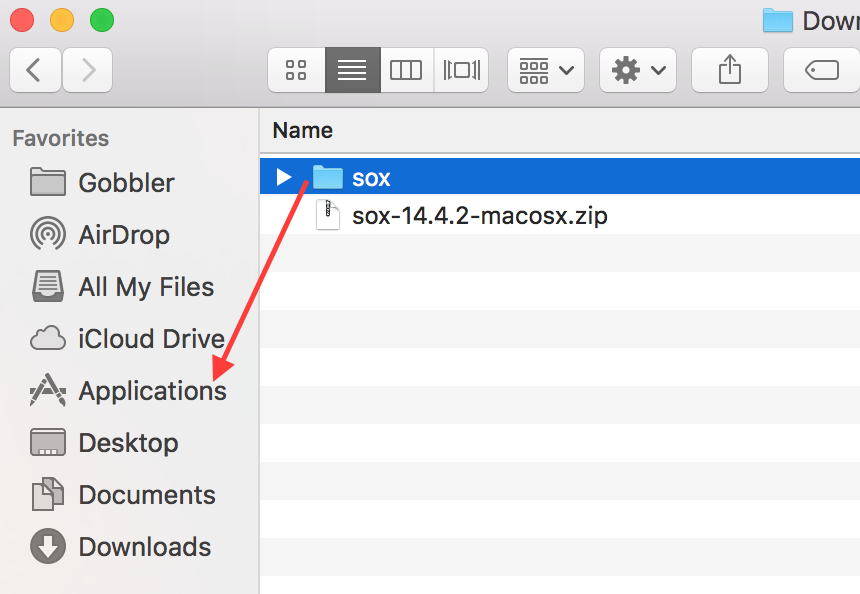
Step 4: Drag the ‘sox’ folder into ‘Applications’ on the left side of your finder
Now you can either download the Automator Script that I prepared here, double click to import and be done with it, or do it manually yourself by following the steps below.
Step 5: Open ‘Automator’
It’s an Apple program located in your ‘Applications’ folder.
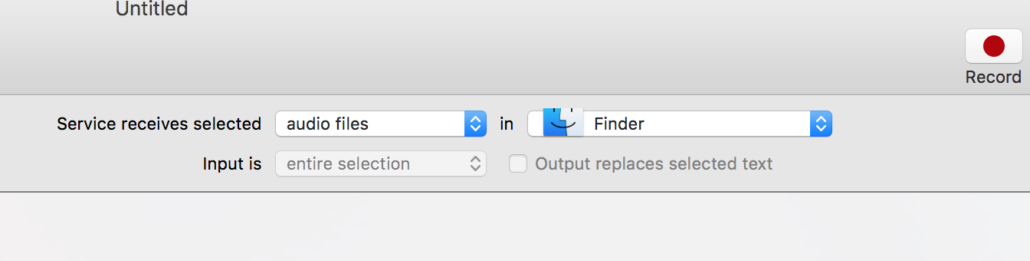
Step 5: Select ‘File->New’ and choose ‘Service’

Step 6: Select inputs as ‘audio files’ from Finder
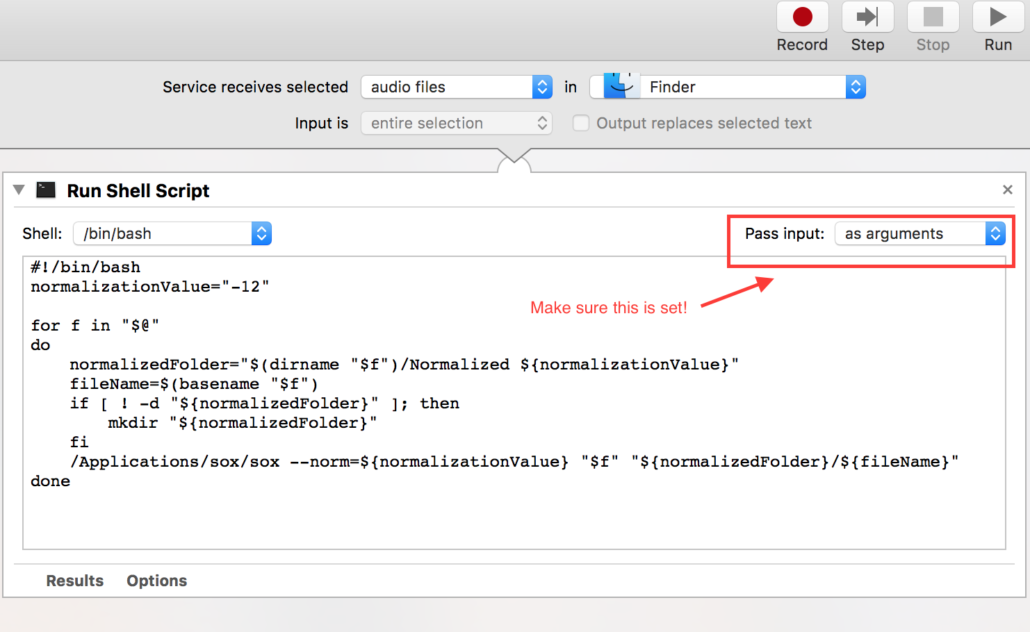
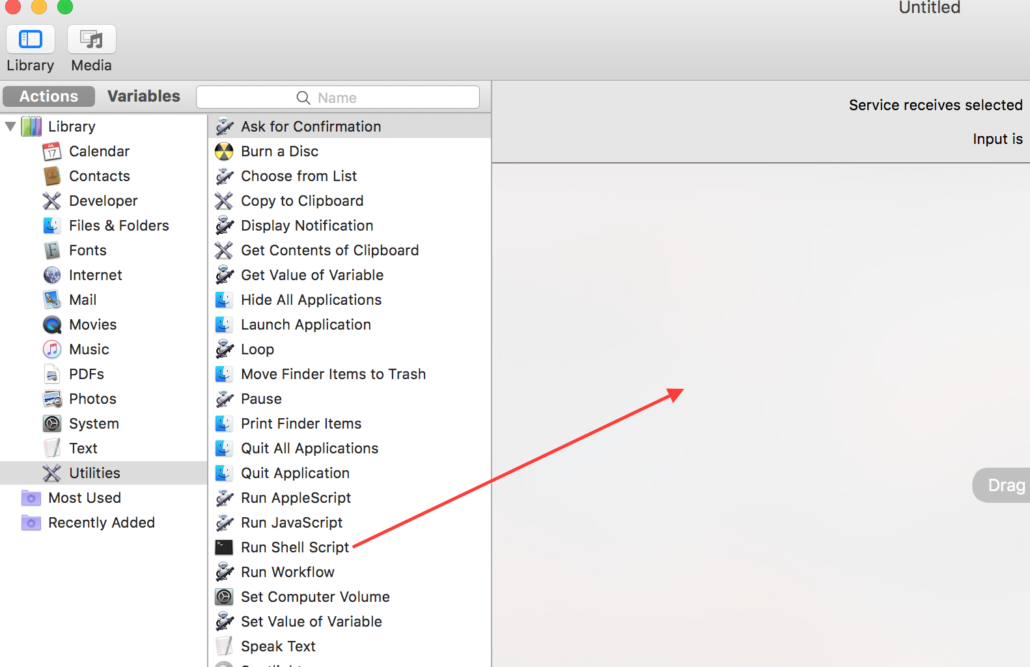
Step 7: Drag in ‘Run Shell Script’ action from Utilities and set ‘Pass input as arguments’
Step 7: Replace the ‘cat’ command with the actual code
#!/bin/bash
normalizationValue="-12"

for f in "$@"
do
 normalizedFolder="$(dirname "$f")/Normalized ${normalizationValue}"
 fileName=$(basename "$f")
 if [ ! -d "${normalizedFolder}" ]; then
 mkdir "${normalizedFolder}"
 fi
 /Applications/sox/sox --norm=${normalizationValue} "$f" "${normalizedFolder}/${fileName}"
done
Note that you can change the normalization from “-12” to whatever you like here.
Your windows should now look like this: